A Guide to a Perfect Pedicure: Achieve Salon-Quality Results at Home
Tess Miller
Summary
- Non-toxic lacquer gives a glossy finish without harsh chemicals or LED curing
- Step-by-step guide for a long-lasting, salon-quality pedicure at home
- Tips to safely remove polish and keep nails healthy and strong
A well-done pedicure is more than just a beauty treatment. It keeps your feet looking polished while also promoting nail health and preventing issues like brittleness and peeling. Unlike gel polish, non-toxic lacquer polish offers a glossy, chip-resistant finish without the need for LED curing. This makes it a great option for an at-home pedicure, especially if you want a long-lasting polish that is easy to remove and gentle on your nails.
If you're ready to achieve a perfect pedicure, follow this step-by-step guide for salon-quality results at home.
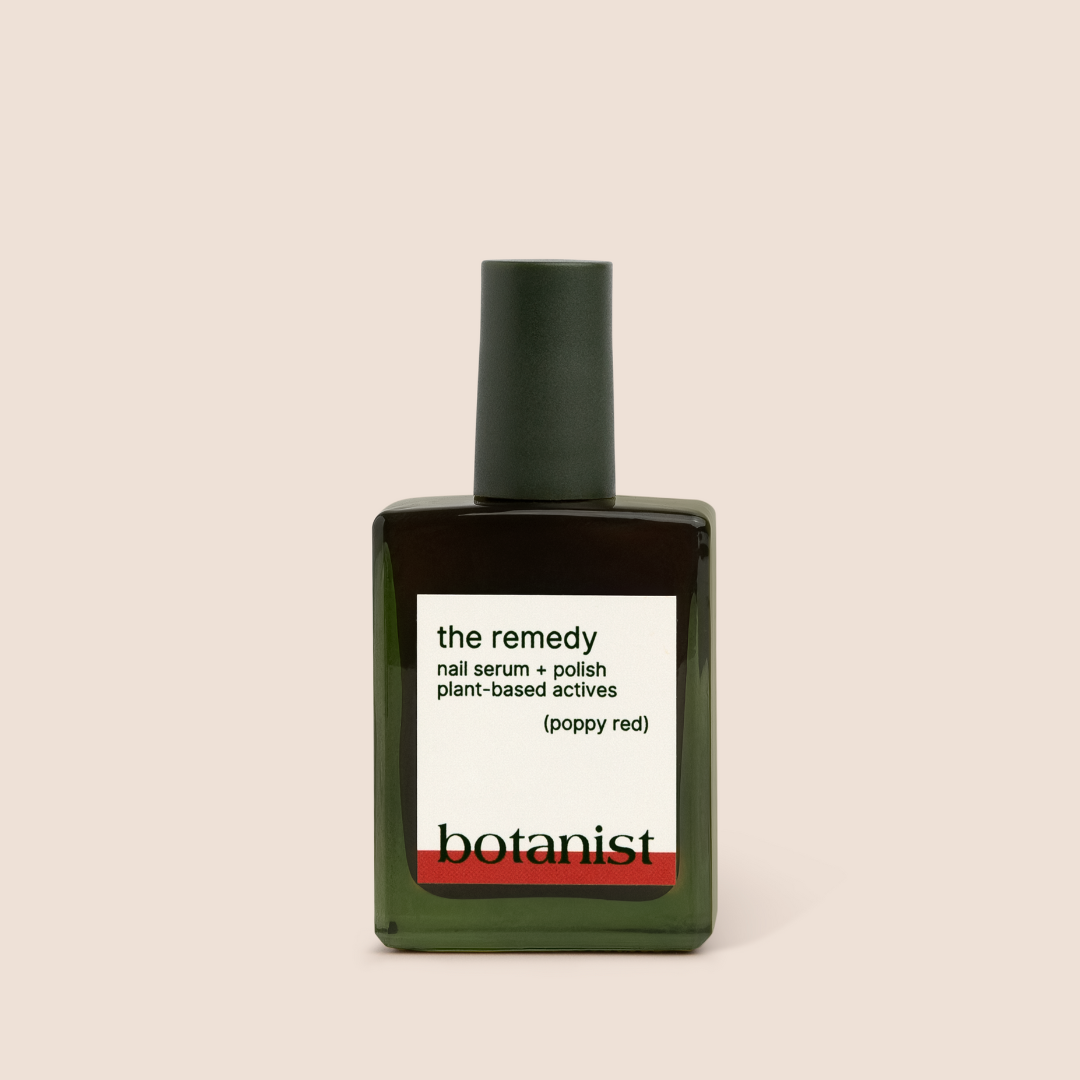
Choosing the Right Lacquer Polish
Not all nail polishes are the same. Many traditional formulas contain harsh chemicals like formaldehyde, toluene, and DBP, which can weaken nails and even cause allergic reactions. Choosing a high-quality, non-toxic lacquer polish ensures vibrant color while keeping your nails strong and healthy.
Did You Know?
Non-toxic lacquer polish is often labeled as “3-free,” “5-free,” or even “10-free,” which means it is free from a certain number of harmful chemicals. A 10-free formula is the safest option and is ideal for those who want to prioritize nail health without sacrificing color or durability.

Prepping Your Nails: The Key to a Long-Lasting Pedicure
Proper nail prep is essential to ensure that your polish applies smoothly and lasts as long as possible. Follow these steps before applying polish:
1. Trim and Shape Your Nails
Cut your toenails straight across to prevent ingrown nails. Use a fine emery board to smooth the edges and slightly round the corners for a polished look.
2. Buff the Nail Surface
Lightly buff each nail to remove ridges and create a smooth base for better polish adhesion. Avoid over-buffing, as this can weaken your nails over time.
3. Care for Your Cuticles
Apply a cuticle remover to soften the cuticles, then gently push them back using a cuticle pusher. Never cut your cuticles, as they serve as a protective barrier against bacteria and infections.
4. Cleanse and Remove Oils
Wipe each nail with an acetone-free nail polish remover to eliminate natural oils and residue. This ensures that your polish adheres properly and lasts longer.
Pro Tip: Soaking your feet in warm water with a few drops of essential oil before starting your pedicure helps soften rough skin and makes the entire process feel more relaxing.

Step-by-Step Application for a Flawless Finish
Now that your nails are prepped, it's time to apply your polish correctly for the best results.
1. Apply a Base Coat
A thin layer of base coat protects your nails from staining, strengthens them, and helps the polish last longer. Be sure to cover the free edge of the nail to help prevent premature chipping.
2. Apply Color in Thin Layers
Apply the first coat of lacquer polish using thin, even strokes. Let it dry completely before adding a second coat for full coverage. Thick coats take longer to dry and are more likely to smudge.
3. Seal with a Top Coat
A high-quality top coat locks in color, adds shine, and protects your pedicure from everyday wear and tear. Reapply a thin layer every few days to maintain durability.
Maintaining Your Pedicure
To keep your perfect pedicure looking fresh and chip-free, follow these aftercare tips:
1. Keep Your Nails Hydrated
Apply cuticle oil or foot cream daily to keep your nails and surrounding skin moisturized. Dry nails are more prone to breakage and peeling.
2. Avoid Hot Water Right After Painting
Hot water can soften your polish and cause it to chip. Wait at least a few hours before taking a warm shower or bath.
3. Use a Top Coat for Extra Protection
Applying a quick-dry top coat every few days helps preserve shine and prevent chipping.
4. Wear Protective Footwear
Barefoot walking, especially on rough surfaces, can wear down your polish faster. If you're heading to the beach or pool, apply an extra coat of top coat to help shield your polish from sand and chlorine.

Removing Lacquer Polish Safely
When you are ready for a color change, follow these steps to remove your polish without damaging your nails:
1. Use an Acetone-Free Remover
Acetone can dry out and weaken your nails. Choose a gentle remover with added conditioners like vitamin E or aloe vera.
2. Soak a Cotton Pad and Press It Onto the Nail
Hold the pad on the nail for about 10 seconds to help dissolve the polish.
3. Wipe Away Gently
Avoid harsh scrubbing. If needed, repeat the process instead of scraping off the polish.
4. Rehydrate Your Nails
After removing the polish, apply a cuticle oil or a nail-strengthening serum to restore moisture and keep nails healthy.
Did You Know?
Non-toxic lacquer polish is formulated with breathable ingredients, allowing air and moisture to pass through the polish to the nail. This helps maintain nail health and reduces the risk of discoloration that often occurs with traditional polishes.

The botanist nail polish remover doesn’t contain acetone, it’s the perfect way to remove nail polish and protect your nails
Enjoy Your Beautiful Pedicure!
A perfect pedicure is not just about beauty—it’s also about nail health and proper care. By following these steps, you can achieve a long-lasting polish and a salon-quality at-home pedicure that keeps your feet looking flawless.
With the right products, techniques, and a little extra care, your feet will be soft, smooth, and beautifully polished all year round!