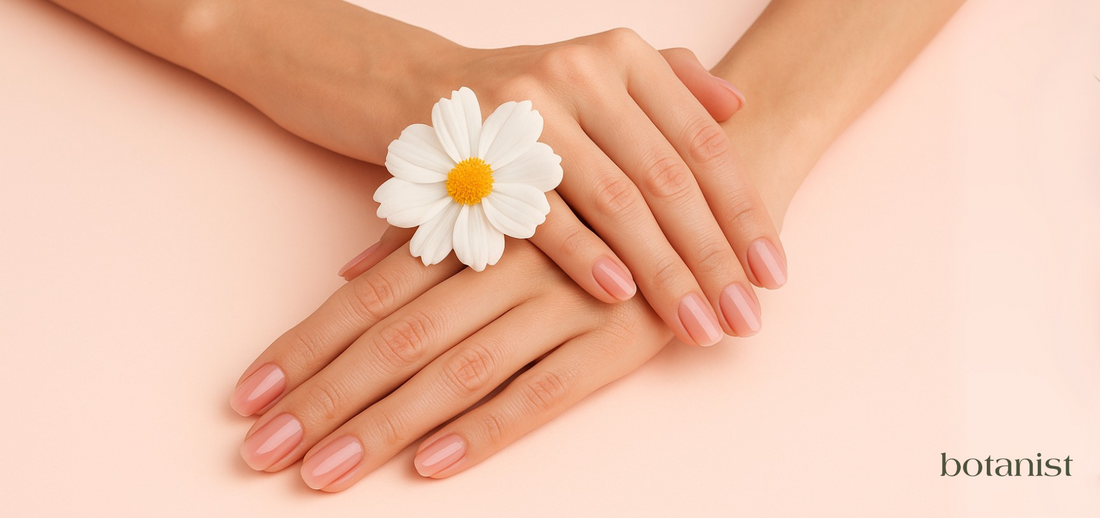
How to Get the Perfect Sheer Manicure with Clear Pink Nail Polish
Tess Miller
Summary
- Learn how to prep your nails for a streak-free sheer pink manicure.
- Follow our expert steps for applying polish like a pro.
- Discover tips and tools to maintain a long-lasting, salon-quality finish at home.
Ever admired someone’s effortlessly glossy, "clean girl" nails? Chances are, they’re wearing sheer pink nail polish. This timeless shade is chic, versatile, and gives your hands a naturally polished look. But here’s the thing: achieving that smooth, streak-free finish at home isn’t always as simple as it seems. The good news? With the right technique and products, you can create a salon-worthy sheer manicure in the comfort of your own home.
Whether you're getting ready for a special occasion or just want to elevate your everyday style, this guide will walk you through everything you need to know to master that soft, glassy, "your nails but better" look with clear pink polish.

Why Clear Pink Nail Polish Is a Must-Have
Clear pink polish delivers a natural, healthy-looking glow that suits any event or outfit. It’s a staple in minimalist beauty routines and flatters every skin tone, making it one of the most universally wearable shades. Plus, it’s forgiving minor mistakes near the cuticles or edges won’t stand out as much as they would with darker colors.
But there’s more to it than just aesthetics. Well-groomed nails can actually boost your confidence. According to a study on grooming and self-perception, personal grooming habits can significantly influence how we feel about ourselves and how others perceive us. In other words, great nails don’t just look polished they help you feel put-together too.
For more on how your nail care routine can impact your confidence, check out How Stress Affects Your Nails (And What You Can Do About It).

Prep Like a Pro
Before you even pick up the polish bottle, proper nail prep is essential. Skipping this step is one of the biggest reasons at-home manicures don’t turn out as smooth and long-lasting as salon ones. Clean, shaped, and moisturized nails are the foundation of a perfect polish application.
Nail Prep Checklist
- Remove Old Polish – Use an acetone-free remover to avoid drying out your nails.
- Trim and Shape – File your nails into your preferred shape (rounded or squoval works best for sheer manis).
- Soften and Push Back Cuticles – Soak your hands in warm water for a few minutes, then gently push back cuticles with a wooden stick.
- Buff Gently – Light buffing creates a smooth surface for better polish adhesion.
- Clean Again – Wipe nails with rubbing alcohol or nail cleanser to remove oils and residue.
To make prep even easier, try the complete manicure kit sheer rose from Botanist Nails. It includes all the essentials for shaping, nourishing, and prepping your nails for polish.
For more detailed prep tips, check out The Ultimate Cuticle Care Guide: Do’s, Don’ts, and Must-Have Products.
Step-by-Step: Applying Clear Pink Nail Polish Like a Pro
Now for the fun part of painting! Follow these steps for a flawless, salon-quality finish.
1. Apply Base Coat
A clear base coat protects your nails from staining and helps the polish adhere better. Let it dry completely before moving on.
2. First Sheer Pink Coat
Use thin, even strokes to apply the first layer of clear pink polish. Start in the center of the nail, then glide the brush along each side. Avoid overworking the polish to prevent streaks.
3. Second Coat for Depth
Once the first coat is dry, apply a second thin layer. This builds color without making the polish look thick or uneven.
4. Optional Third Coat
If your polish is very sheer and you want a bit more color, a third thin coat can enhance the look just make sure each layer dries fully before adding the next.
5. Top Coat Magic
Finish with a glossy top coat to protect your manicure and add shine. A high-quality top coat, like the shiny top coat from Botanist Nails, gives a gel-like finish and smooths out minor imperfections.

Pro Tips for a Salon-Quality Finish
Small details make a big difference. Keep these expert tips in mind:
- Use a quality brush – A wide, flat brush helps distribute polish evenly.
- Avoid drafts – Fans or open windows can cause bubbles or uneven drying.
- Wrap the tips – Lightly swipe polish over the free edge of your nails to prevent chipping.
- Be patient with drying time – Let each coat dry fully before applying the next. Quick-dry drops can speed things up.
- Moisturize after – Once your polish is dry, apply cuticle oil and hand cream for a fresh, hydrated look.
For more ways to extend your manicure’s lifespan, read How to Make Nail Polish Last Longer: 10 Easy Tips.
Nail Growth Serum – Lightweight and nutrient-rich, this serum supports stronger nails and hydrates cuticles after every manicure.
Choosing the Right Clear Pink Polish
When it comes to clear pink polishes, there's a beautiful variety to choose from. Some offer barely-there transparency, while others have a juicy, jelly-like finish. The ideal shade for you depends on both your skin's undertones and personal style whether you prefer soft warm pinks or cooler, rosier hues.
Our Top Sheer Polish Pick from Botanist Nails
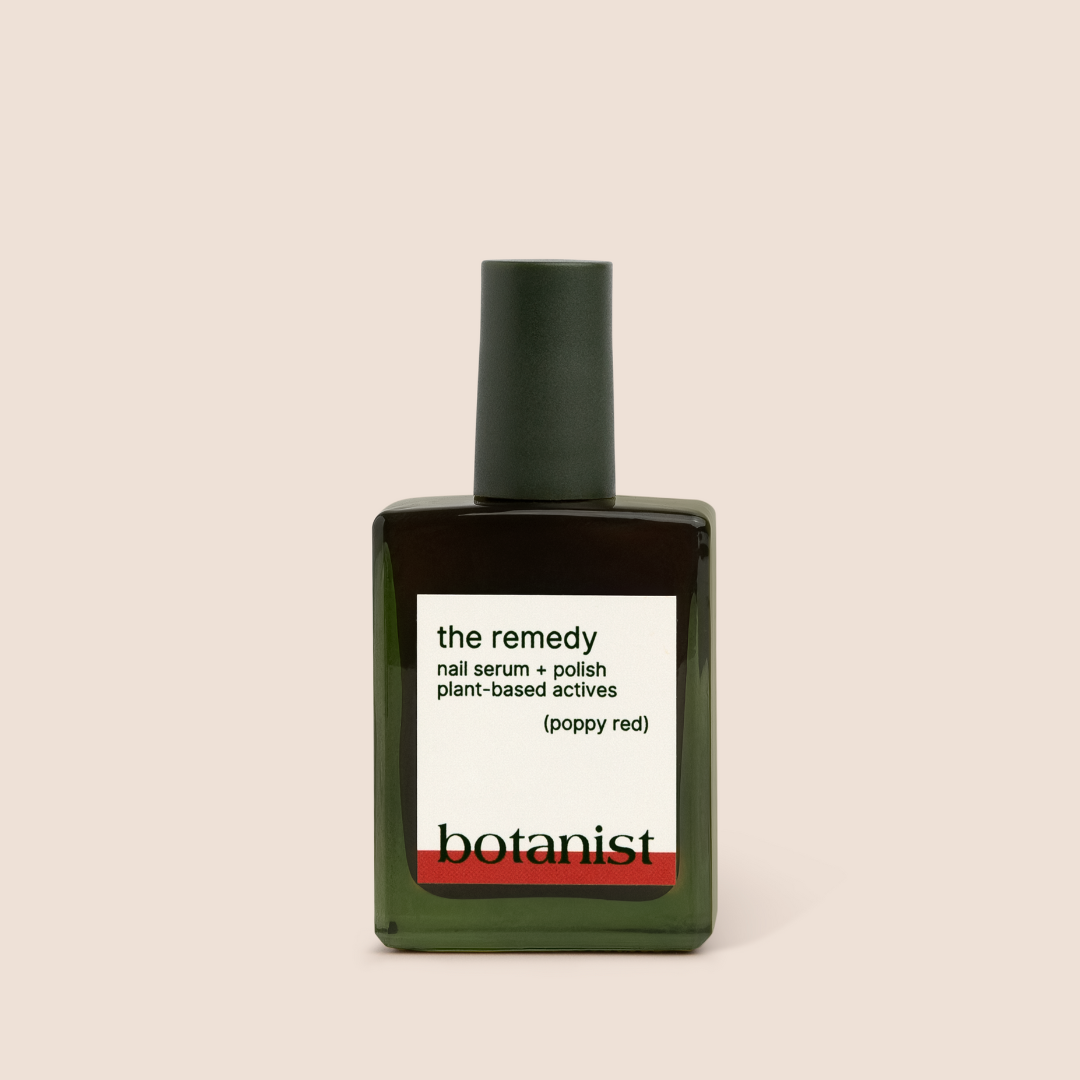
For a naturally gorgeous manicure that enhances rather than covers, try the remedy sheer rose. This elegant polish gives nails a fresh, healthy-looking glow with its subtle translucent tint. What makes it special? It builds beautifully without streaking, plus it actually nourishes your nails while you wear it.
If your nails need some extra TLC maybe after gel manicures or acrylics pair it with the nail rescue kit rose. This powerful duo gives you that coveted salon-quality finish while actively repairing and strengthening your nails at home.
Still unsure which shade complements your complexion best? Get personalized recommendations in our guide: How to Choose the Right Nude Polish for Your Skin Tone.
Maintaining Your Sheer Manicure
Once you’ve perfected your manicure, follow these tips to make it last:
- Wear gloves when cleaning or washing dishes.
- Reapply top coat every few days to maintain shine.
- Avoid using your nails as tools (no prying open packages!).
- Apply cuticle oil daily to keep nails and skin hydrated.
For a full nail care routine, explore Nail Care 101: The Complete Guide to Strong and Healthy Nails.
Nail Polish Remover – A gentle yet effective formula that keeps your nails clean and prepped without the drying effects of harsh acetone.
FAQ
1. Can I use regular pink polish and dilute it for a sheer effect?
You can try, but results may be uneven. Sheer polishes are specially formulated for transparency, while opaque pinks are designed for full coverage.
2. What’s the difference between clear pink and nude polish?
Clear pink polish has a translucent, glossy finish, while nude polish is usually more opaque and designed to match or contrast with your skin tone.
3. Why does my sheer polish streak?
Streaks often happen from applying thick coats, using a low-quality brush, or not letting layers dry fully. Thin, even strokes are key.
4. Is sheer polish better for nail health?
It can be, since it’s easier to remove gently and shows chips sooner, prompting quicker touch-ups.
5. Can I use a UV top coat over sheer polish?
Only if your base and color coats are gel-compatible. Mixing regular and gel formulas may cause peeling.
With the right tools, techniques, and a little patience, a sheer pink manicure is one of the easiest and most elegant beauty looks to master at home. Whether you're typing, texting, or simply admiring your hands, your nails will look effortlessly polished.
