How to Prep Your Nails Before a Manicure
Tess Miller
Summary
- Prepping your nails properly is key to achieving a smooth, long-lasting manicure.
- Simple steps like shaping, cleaning, and using the right base coat make a big difference.
- Avoid common mistakes like over-soaking or applying oils before polish for best results.
A perfect manicure begins with the right foundation, and that means prepping your nails properly. Whether you're doing your nails at home or visiting a salon, taking the time to prep ensures your polish looks smooth and lasts longer. In this guide, we'll walk you through everything you need to know from cleaning and shaping to cuticle care and nail dehydration so your manicure stays chip-free and gorgeous.

Why Nail Prep Matters
Skipping nail prep might seem harmless, but it can lead to peeling polish, uneven application, or a manicure that barely lasts a day. Polish, gel, and even press-ons adhere much better to a well-prepped nail surface. Beyond just aesthetics, proper prep also keeps your nails healthy and strong.
Your nail bed, cuticles, and surrounding skin all play a role in nail growth and overall health. Research shows that damage to the nail plate can affect growth and strength, so taking care of your nails before applying polish is key. For a deeper dive into nail health, check out this post on Know Your Nails: A Simple Guide to Stronger, Healthier Hands.

Step-by-Step: Prepping Your Nails for a Manicure
1. Remove Old Polish Completely
Start by using a non-acetone polish remover (or acetone for gel polish). Press a soaked cotton pad onto each nail for a few seconds before wiping away the polish. Avoid scraping, as this can damage your nails. For a gentle yet effective option, try this nail polish remover, which is acetone-free and packed with nourishing ingredients.
2. Wash and Dry Hands Thoroughly
After removing polish, wash your hands with mild soap to eliminate any leftover residue or oils. Make sure to dry them thoroughly, especially around the nails, since moisture can interfere with polish adhesion.
3. Trim and Shape
If your nails are too long or uneven, trim them with clippers first, then file them into your desired shape. A soft oval or squoval shape is ideal; it's less likely to snag or break. For more filing tips, read How to File Your Nails the Right Way for Strong and Beautiful Hands.
4. Soften and Push Back Cuticles
Soak your fingertips in warm water for a few minutes or apply a cuticle softener. Then, gently push back your cuticles with a cuticle pusher. Avoid cutting them unless absolutely necessary to protect your nails from bacteria. For a full guide on cuticle care, see The Ultimate Cuticle Care Guide: Do’s, Don’ts, and Must-Have Products.
5. Buff the Nail Surface (Optional)
A light buff can smooth out ridges and create an even surface for polish. But be careful over-buffing can weaken your nails. A single pass with a fine-grit buffer is usually enough.
6. Dehydrate the Nail Plate
Before applying polish, wipe each nail with alcohol or a nail dehydrator to remove any remaining oils. This step helps your polish adhere better and last longer.
7. Moisturize (But Timing Matters)
Hydration is crucial for nail health, but applying lotion or oil right before polish can prevent proper adhesion. Instead, moisturize after your top coat has fully dried. Studies suggest that proper hydration improves nail flexibility and reduces brittleness.
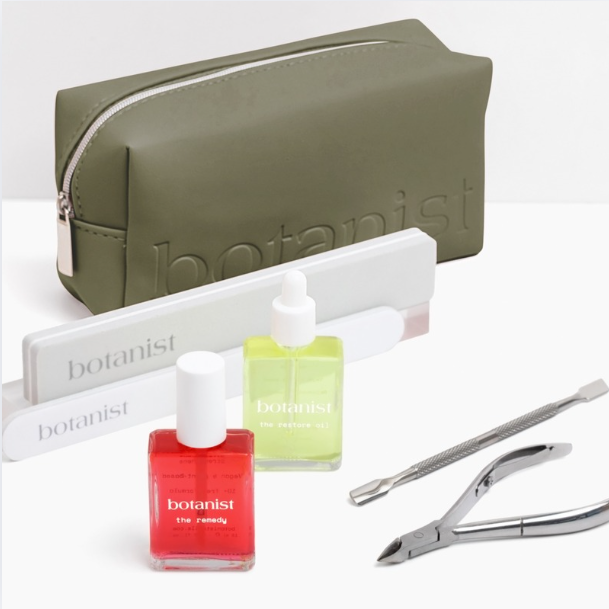
Complete Manicure Kit Rose – Everything you need for a perfect at-home manicure, featuring tools, polish, and care products in a soft rose finish.
What to Avoid Before a Manicure
Over-soaking your nails – Too much water can expand the nail plate, causing polish to chip faster.
Using metal tools under nails – These can cause tiny tears and increase infection risk.
Skipping the free edge – Filing the edge of your nail helps seal in polish and prevents lifting.
Applying lotion before polish – Oils create a barrier that weakens polish adhesion.
Over-buffing – While smoothing ridges is tempting, excessive buffing thins nails over time.

Bonus Tips for Long-Lasting Results
Choose the Right Base Coat
A quality base coat isn’t just for color, it protects your nails and helps polish stick better. If your nails are weak or peeling, opt for a strengthening formula with keratin or biotin. For a complete nail repair solution, the nail rescue kit nude includes a nourishing base coat, polish, and tools to restore nail health while keeping them polished.
Mind Your Environment
Avoid hot water, harsh chemicals, and picking at your polish. Wearing gloves while cleaning or washing dishes can help prevent premature chipping. For more longevity tips, check out How to Make Nail Polish Last Longer: 10 Easy Tips.
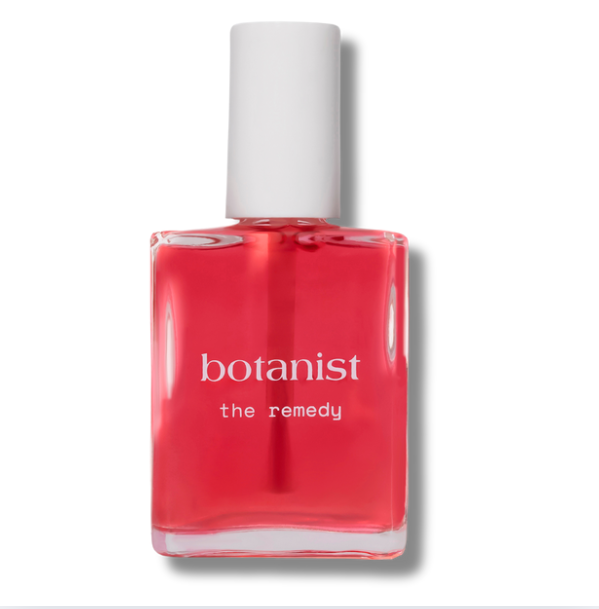
The Remedy Rose – A lightweight nail oil infused with rose extract to nourish and restore dry cuticles and brittle nails.
FAQ
1. How long should I wait after washing hands to apply polish?
Wait about 10 minutes to ensure your nails are completely dry. Any leftover moisture can weaken the polish bond.
2. Can I use regular rubbing alcohol to dehydrate nails?
Yes, 70% isopropyl alcohol works well to remove oils. Just don’t skip this step, as it’s crucial for polish adhesion.
3. Is it bad to cut cuticles before a manicure?
Cutting cuticles increases infection risk. Instead, gently push them back and keep them moisturized.
4. How often should I buff my nails?
Limit buffing to once every 2–3 weeks. Overdoing it can thin your nails and make them more prone to breakage.
5. What if my nails are peeling?
Use a nail strengthener and avoid excessive soaking or harsh chemicals. Peeling often indicates dehydration or damage, so handle your nails gently.
Taking the time to prep your nails properly isn’t just about a flawless finish, it's about keeping them healthy and strong. Whether you’re going for a salon-quality manicure or a quick at-home polish, these steps will help your nails look their best and last longer.