How to Properly Apply Nail Polish
Tess Miller
Summary
- Learn step-by-step how to apply nail polish for a smooth, chip-free finish.
- Discover expert tips for nail prep, drying, and long-term nail health.
- Backed by science and paired with tools to elevate your at-home manicure.
There’s something undeniably satisfying about freshly painted nails. Whether you’re dressing up for work or a night out, a polished manicure effortlessly elevates your look. But while many adore the results, applying nail polish correctly can be tricky. If you’ve dealt with streaks, bubbles, or chips within hours, this guide will help you master the process.
Here’s a step-by-step breakdown for flawless polish application, plus tips to keep your nails healthy underneath the color.

Why Nail Prep Matters
Skipping proper nail prep is a recipe for uneven polish, peeling, and poor adhesion. Taking time to prepare your nails ensures a long-lasting, smooth finish.
Clean Nails Are Key
Polish adheres best to clean, dry nails. Any residue (whether oil, lotion, or old polish) can interfere with application. Research from a 2017 study on cosmetic product interaction with the nail plate confirms that natural oils reduce polish longevity.
Begin by removing old polish with a gentle, non-acetone remover to avoid drying out your nails. A great option is Botanist Nails’ nail polish remover, which cleans effectively without stripping moisture. Wash your hands with warm water and soap, then ensure your nails are completely dry before proceeding.
Shape and Smooth
File your nails to your desired shape, following their natural curve. Next, lightly buff the surface to smooth out ridges, but don’t overdo it. Excessive buffing can weaken nails over time, as noted in a clinical review on nail health.
For expert filing techniques, check out How to File Your Nails the Right Way for Strong and Beautiful Hands.

Nail File + Nail Buffer — smooth ridges and shape your nails like a pro with this essential dual tool from Botanist Nails.

The Right Way to Apply Nail Polish
Ever wondered how salon manicures look so flawless? The secret lies in technique and patience. Follow these steps for professional results at home.
Step-by-Step Nail Polish Application
-
Apply a base coat
This prevents staining and helps polish adhere better while creating a smooth canvas. -
Use thin coats of color
Thick coats may seem quicker but are more prone to smudging and chipping. Thin, even layers dry better. -
Follow the “3-stroke” rule
Start with a stroke down the center, then glide the brush along each side for even coverage. -
Let each layer dry completely
Wait at least two minutes between layers. Two to three thin coats last longer than one thick one. -
Finish with a top coat
This adds shine and prevents chips. For a polished look, try the Complete Manicure Kit Sheer Rose, which includes everything you need for a soft, elegant finish.
Common Mistakes to Avoid
- Skipping base or top coats
- Polishing dirty or oily nails
- Using old, gloopy polish
- Rushing between coats
- Painting over cuticles
For more pro tips, read 5 Easy Steps to Achieve Salon Quality Nails at Home.

Drying and Post-Polish Care
The key to a long-lasting manicure? Patience during drying and proper aftercare.
How to Dry Your Nails Faster
While air drying is best, these tricks help:
- Run nails under cold water once the top coat is tacky
- Use a fan or blow dryer on a cool setting
- Briefly dip nails in ice water
Aftercare Tips
Extend your manicure’s life with these habits:
- Wear gloves during chores
- Moisturize cuticles daily with oil
- Refresh the top coat every few days
- Avoid picking at polish to prevent nail damage
A recent study on nail health highlights how cuticle care reduces breakage. For precise maintenance, try the Cuticle Clipper from Botanist Nails.
For a full guide, see The Ultimate Cuticle Care Guide: Do’s, Don’ts, and Must-Have Products.

Cuticle Pusher — gently push back your cuticles for a clean, salon-ready nail bed without any damage.
Long-Term Nail Health
While polished nails look great, they need occasional breaks to stay strong.
Give Your Nails a Break
Dermatologists recommend going polish-free every few weeks to let nails recover. Use this time to hydrate nails with oils or treatments, but skip formaldehyde-based hardeners, which can cause brittleness.
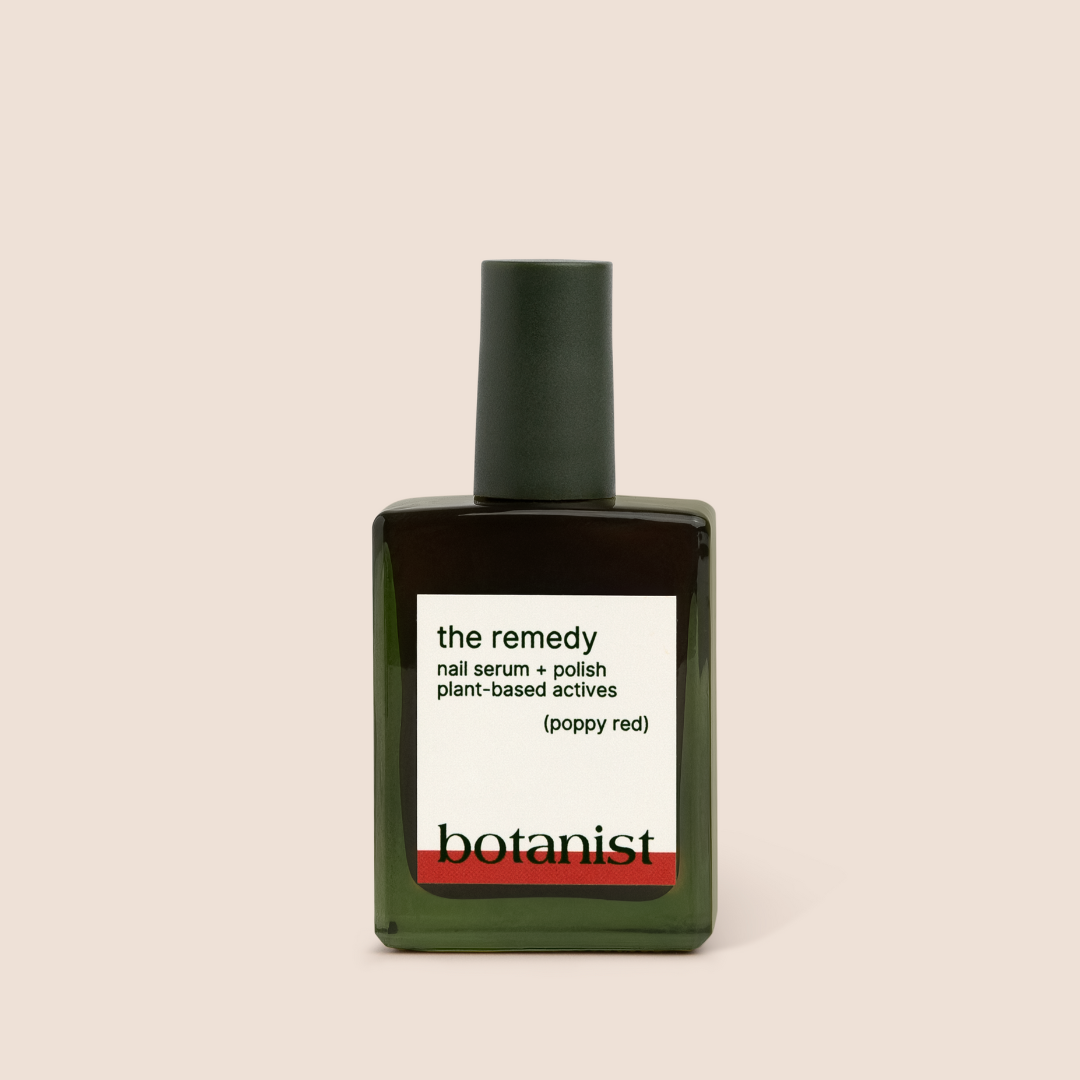
For a nourishing alternative, try The Remedy Poppy Red, a breathable polish that supports nail health.
For damaged nails, read How to Recover from Nail Damage After Acrylics or Gels.
Nutritional Support
Healthy nails start from within. A diet rich in biotin, protein, and iron promotes strength and growth. According to a Harvard health guide, nails can reflect overall wellness.
Learn more in Top 7 Nutrients for Healthy Nails (And the Foods You’ll Find Them In).
FAQ
Q: How long should I wait between coats of polish?
Wait 2–3 minutes to prevent smudging.
Q: Why does my nail polish bubble?
Usually from thick layers or warm hands during application.
Q: Is it okay to use acetone-based remover?
Occasionally, but frequent use dries nails. Opt for gentler options like Botanist’s nail polish remover.
Q: How often should I give my nails a break from polish?
Every 2–3 weeks to prevent damage.
Q: What’s the best way to prevent chipping?
Use a top coat, limit water exposure post-application, and wear gloves for chores.
Whether you’re a beginner or a DIY manicure enthusiast, these tips will help you achieve salon-worthy nails. Focus on technique, be patient, and remember that healthy nails are just as important as a beautiful color.