How to Recover from Nail Damage After Acrylics or Gels
Tess Miller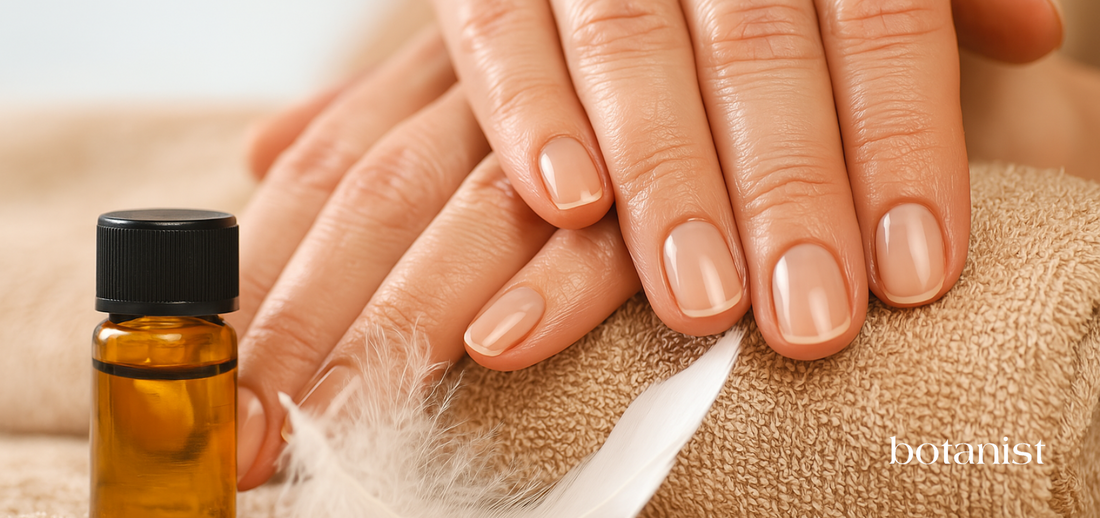
Summary
- Explains how acrylics and gels damage natural nails
- Shares a step by step recovery routine
- Offers tips to prevent future nail damage
That flawless manicure look comes at a cost. While acrylics and gels give you instant glamour and durability, removing them often reveals the harsh truth: brittle, damaged nails underneath. Sound familiar? You're definitely not alone. These popular treatments, especially when overused or removed incorrectly, can leave your natural nails in rough shape.
Whether you've been rocking back-to-back salon appointments or had a single gel treatment that didn't go as planned, we've got you covered. This guide combines dermatologist-approved advice with practical, real-life solutions to transform your nails from weak and peeling to strong and healthy again. Let's start the journey to restoring your nails' natural beauty and strength.
Understanding the Damage: What Happens to Your Nails
Acrylics and gels might give you flawless nails, but they come at a cost. To apply them, your natural nails get filed and buffed, which gradually thins them out. And if you’ve ever peeled them off instead of soaking them properly with a quality nail polish remover? That’s a surefire way to rip off layers of your real nails, leaving them weak and peeling.
Research from the Journal of Cosmetic Dermatology shows that frequent gel manicures, especially with UV exposure, can dehydrate and thin your nails over time. Add acetone-based removers into the mix, and you’ve got a recipe for dry, brittle nails.
But don’t panic, damage isn’t permanent. With the right care, you can nurse your nails back to health.
Jasmine and Amber botanist nail polish remover is a great choice as it doesn't contain acetone.


Step-by-Step Nail Recovery Routine
If your nails are struggling after acrylics or gels, it’s time for a rehab plan. Here’s how to bring them back to life.
1. Trim and File with Care
First things first: cut them short. I know it’s hard to say goodbye to length, but this stops splits from getting worse. Use a glass nail file, they’re gentler than metal or emery boards and help prevent snags.
2. Moisturize Religiously
Your nails and cuticles are desperate for hydration. Slather on cuticle oil (jojoba and vitamin E are superstars) and a rich hand cream twice a day. Massaging it in, boosts blood flow, which helps nails grow stronger.
Pro Tip: Keep a mini oil in your bag so you can hydrate on the go.
3. Go Polish-Free (At Least for a While)
I get it, bare nails aren’t as fun. But giving them a break from polish (even non-toxic kinds) lets them breathe and recover. If you need a little shine, try a clear strengthening treatment instead.
4. Use a Nail Hardener Sparingly
Some strengtheners work wonders, but avoid anything with formaldehyde, it can make nails too hard and prone to snapping. Look for protein-based formulas and use them just a few times a week.
5. Focus on Nutrition
Healthy nails start from the inside. Biotin, iron, and omega-3s are key players. Studies show biotin supplements can thicken nails over time, but you can also load up on nail-friendly foods like eggs, salmon, and leafy greens.
Here are some foods that help promote strong, healthy nails:
- Eggs (rich in biotin)
- Salmon (packed with omega-3s)
- Spinach and kale (iron and folate)
- Almonds (magnesium)
- Lentils and chickpeas (plant-based protein and zinc)
If your diet is lacking in these nutrients, it might be worth discussing supplements with your doctor.
The botanist complete kit offers manicure tools, 2-in-1 treatment, and an oil that increases nail growth and protects cuticles


Hydration and Protection: The Two Essentials
Beyond creams and supplements, keeping nails hydrated and shielded from daily wear-and-tear makes a huge difference.
Why Hydration is Non-Negotiable
Dry nails crack. It’s that simple. Harvard Health notes that brittle nails often come from dehydration whether from weather, harsh products, or just not moisturizing enough. Make oil and hand cream part of your daily routine, and for extra repair, slather on a thick balm at night and sleep in cotton gloves.
Protecting Nails from Daily Damage
Even small things like washing dishes or typing can stress fragile nails. To keep them safe:
- Wear gloves when cleaning
- Stop using nails as tools (no prying open soda tabs!)
- Limit long soaks in water
- Keep hands covered in cold, dry weather
When to See a Dermatologist
Most of the time, your nails just need a break and some consistent care to get back to normal. But if you notice pain that won’t go away, swelling, discoloration, or signs of infection like pus or a bad smell, it’s best to see a dermatologist.
Problems like nail fungus or onycholysis (when the nail starts separating from the nail bed) can show up after trauma or poor removal of gels or acrylics. These issues don’t always heal on their own and sometimes need medicated creams or pills.
A clinical review from ScienceDirect showed that untreated nail damage can lead to lasting changes in how your nail grows, so don’t wait too long if things aren’t improving.

How Long Will Nail Recovery Take?
Recovery time depends on how damaged your nails are and how well you care for them. Fingernails grow about 3 millimeters each month, so it usually takes 3 to 6 months to fully grow out healthy nails.
Try to avoid these common setbacks:
-
Getting another set of acrylics or gels before your nails are ready
-
Filing or buffing your nails when it’s not needed
-
Overusing acetone or strong polish removers
-
Ignoring signs of infection or more serious damage
Quick Signs Your Nails Are Getting Healthier
-
Nails grow longer without splitting or breaking
-
Nail beds look pink and smooth again
-
There’s a healthy shine without needing polish
-
Cuticles feel soft and stay moisturized
Even small improvements mean you’re on the right track. Stick with it!
Nail Recovery Toolkit: What You’ll Need
Here’s a basic list of helpful items to keep on hand while your nails heal:
-
A crystal or glass nail file
-
A biotin supplement or multivitamin (with your doctor’s okay)
-
Cuticle oil with jojoba, almond, or vitamin E
-
A thick, moisturizing hand cream (shea butter is great)
-
A clean nail strengthener without harsh chemicals
-
Cotton gloves for overnight moisture treatments
-
Protective gloves for chores or cleaning
Be consistent, and you’ll likely start seeing a difference in just a few weeks.
FAQ: Nail Recovery After Acrylics and Gels
1.How long should I wait before getting another acrylic or gel manicure?
Give your nails a proper break of at least 6-8 weeks between enhancements. This recovery window allows your natural nails to rebuild strength and hydration.
2. Are nail strengtheners safe to use daily?
Using them in moderation 2-3 times weekly is ideal. Daily application (especially of formaldehyde-based formulas) can make nails too rigid and prone to breakage.
3. Can I use press-on nails while recovering?
Absolutely! They're a great temporary option when applied with gentle adhesive and removed carefully. Just avoid harsh glues that might damage fragile nails.
4. What if my nails are still peeling after a month?
Some peeling is normal during recovery, but persistent issues warrant a dermatologist visit to rule out fungal infections or other underlying conditions.
5. Is buffing my nails okay during recovery?
Light buffing is fine to smooth the surface, but go easy. Over-buffing will thin your nails further and delay the healing process.
With consistent care and patience, you'll see your natural nails transform. This recovery period isn't just about repair - it's an opportunity to develop lasting nail care habits for stronger, healthier nails that shine on their own.