5 Tips for a Better At-Home Manicure
Tess Miller
Summary
- Learn 5 expert-approved tips to upgrade your at-home manicure routine.
- Discover product recommendations and science-backed advice for stronger, healthier nails.
- Get step-by-step guidance on prepping, polishing, and maintaining your manicure like a pro.
There’s something undeniably satisfying about freshly manicured nails, but let’s face it, regular salon visits aren’t always practical or budget-friendly. The good news? You can achieve a flawless manicure right at home. With the right tools, a bit of patience, and some expert-approved techniques, your nails can look professionally polished without ever leaving your bathroom.
Whether you’re fixing a chipped nail or indulging in a full spa-like experience, these five essential tips will elevate your at-home manicure game

1. Start With a Solid Foundation: Nail Prep is Everything
Before you even reach for your favorite polish, proper nail prep is crucial. A clean, well-shaped base is the difference between a manicure that chips in days and one that lasts over a week.
Here’s how to prep your nails like a pro:
- Remove old polish completely. Opt for a non-acetone remover to minimize damage, especially if your nails are brittle. We love this gentle nail polish remover from Botanist Nails for a safe and effective clean.
- Soak your hands. A quick 5-minute soak in warm, soapy water softens cuticles and lifts away dirt.
- Gently push back cuticles. Avoid cutting them, just use a cuticle pusher to tidy them up.
- Buff lightly. A quick buff helps polish adhere better and smooths out any uneven texture.
Research shows that proper nail prep not only extends polish wear but also reduces the risk of infections. One study even emphasizes nail hygiene as a key part of overall hand care (source).
For a deeper dive into nail prep, check out How to Prep Your Nails Before a Manicure for a step-by-step guide.

2. Shape and File With Purpose
Your nail shape isn’t just about looks, it also affects durability and strength. Always file in one direction to prevent splitting or peeling.
Nail Shapes 101
Different shapes create different vibes:
- Round: Ideal for short nails and a natural look.
- Oval: Elongates fingers for an elegant effect.
- Square: Classic and sturdy, great for French manicures.
- Squoval: A mix of square and oval; low-maintenance and versatile.
- Almond or Stiletto: Trendy but prone to breaks unless reinforced.
Consider your daily habits when choosing a shape. If you’re typing or working with your hands often, round or squoval shapes are your best bet.
Still unsure? Read Find Your Perfect Nail Shape: What Suits You Best? for expert advice.
3. Master the Art of Polishing
Time for color! But don’t just slap it on. There’s a technique to smooth, salon-worthy results.
The 3-Stroke Rule
For even coverage:
- Center stroke
- Left side
- Right side
Avoid overloading the brush. Too much polish leads to bubbles and slow drying. Start slightly away from the cuticle for a clean finish. Always use a base coat (to prevent staining) and a top coat (for shine and durability). A study found that base coats reduce yellowing, while top coats significantly extend wear.
Quick checklist:
- Thin coats dry faster and last longer.
- Wait 2 minutes between layers.
- Seal the free edge to prevent peeling.
For a foolproof polish system, try the complete manicure kit cherry blossom.
More tips? Read How to Make Nail Polish Last Longer: 10 Easy Tips for Chip-Free, Gorgeous Nails.
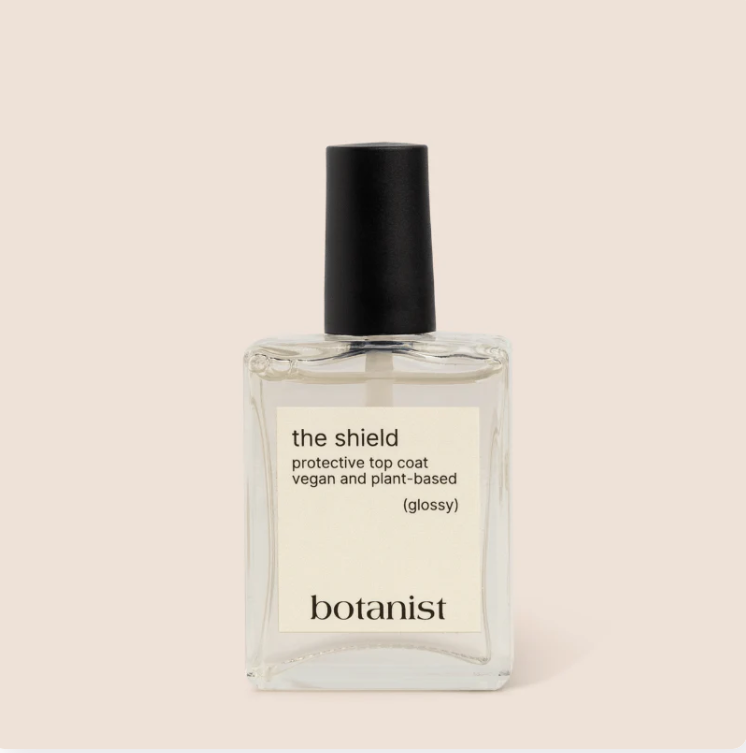
Shiny Top Coat — A glossy, long-lasting finish that protects your polish and gives your nails a salon-quality shine.

4. Moisturize Like You Mean It
Healthy nails need hydration. Dry cuticles can ruin even the prettiest manicure, so keep them nourished.
Best Practices for Hydration
- Cuticle oil or balm: Apply daily.
- Hand cream: Use after washing hands.
- Overnight treatments: Hydrating gloves work wonders.
- Avoid excessive hot water: It strips natural oils.
Moisturizing isn’t just cosmetic. It strengthens the skin barrier, reducing brittleness and inflammation.
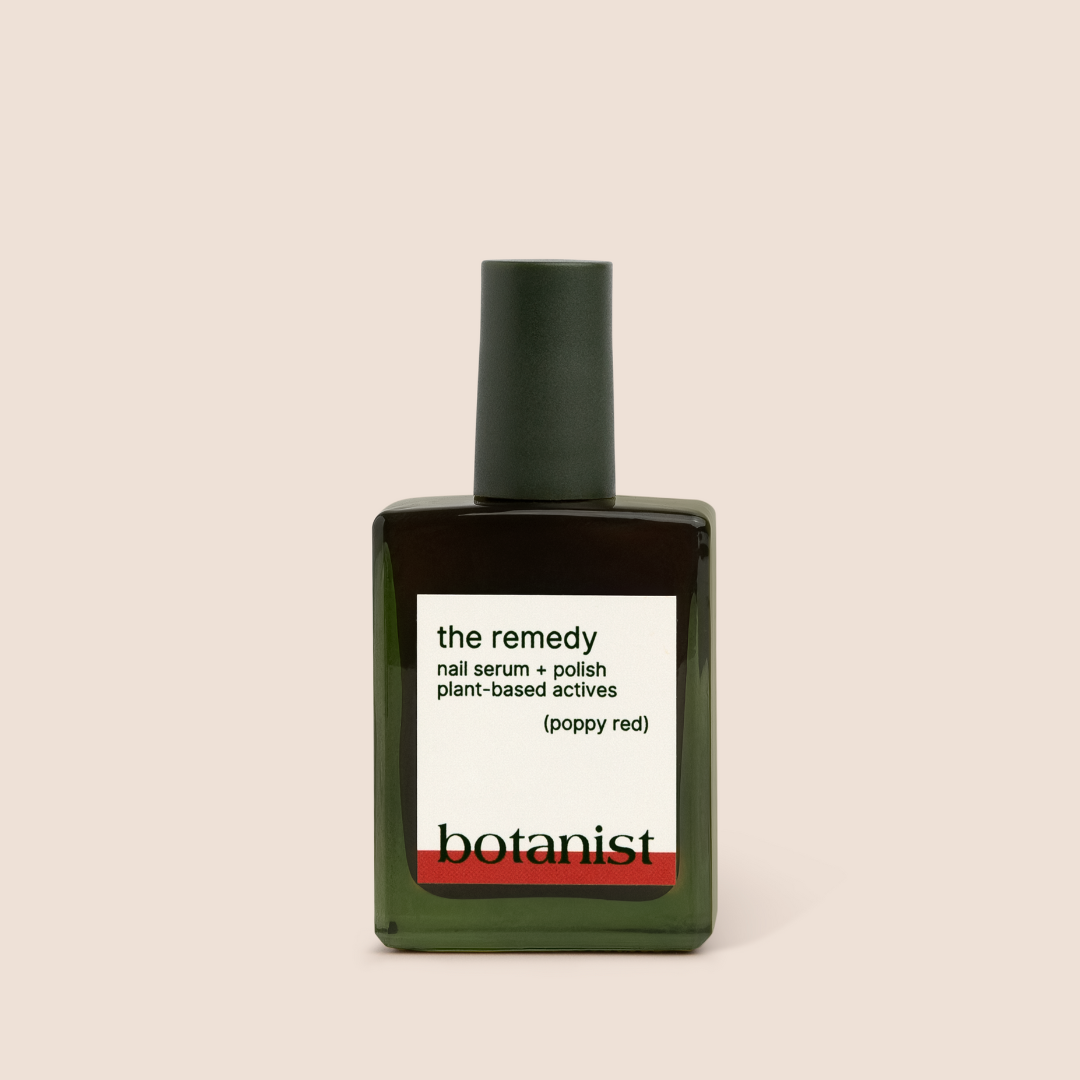
We recommend the remedy sheer rose for deep hydration.
For more fixes, check out Say Goodbye to Dry Skin Around Your Nails: Simple Fixes That Work.
5. Maintain Your Mani With Smart Habits
Protect your manicure from daily wear and tear with these do’s and don’ts:
Do:
- Wear gloves for chores.
- Use a nail hardener if needed.
- Refresh top coat every few days.
Don’t:
- Use nails as tools.
- Pick at chipped polish.
- Skip hand sunscreen. UV rays fade polish.
For damaged nails, try the kiku nude nail rescue kit.
Post-gel recovery? Read How to Recover from Nail Damage After Acrylics or Gels.
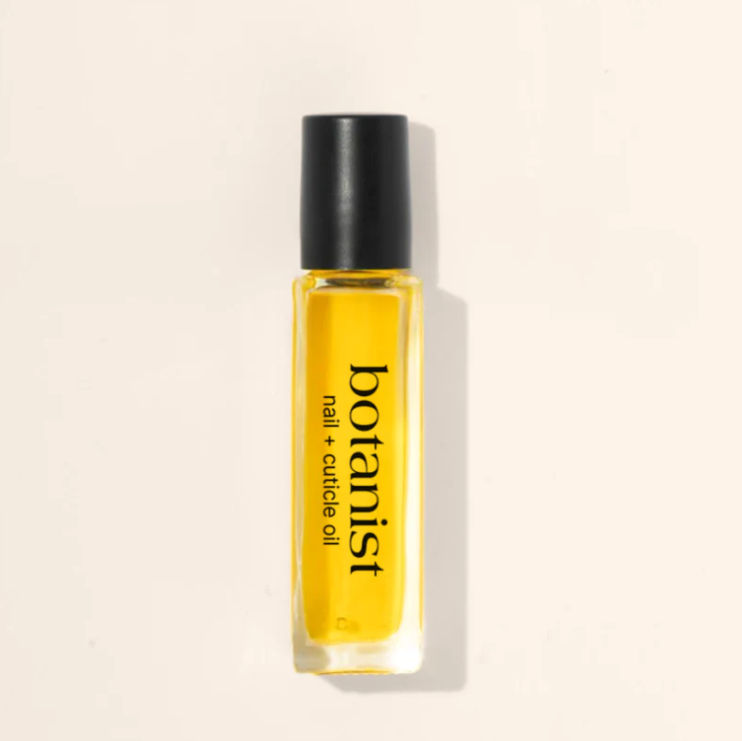
Nail Growth Serum — Boosts nail strength and encourages healthy growth with daily application.
FAQ
Q1: How long should a DIY manicure last?
With proper care, 5–7 days. A good top coat and gentle habits help.
Q2: What’s the safest way to remove polish?
Use a non-acetone remover. Press a soaked cotton pad on the nail before wiping.
Q3: Can at-home gel manicures damage nails?
Yes, if removed incorrectly. Always soak off and never peel. Give nails breaks between sets.
Q4: What if I have ridges in my nails?
Light buffing can help, but persistent ridges may indicate health issues.
Q5: Should I cut my cuticles?
No. They protect the nail bed. Just push them back gently.
With the right approach, an at-home manicure can rival a salon visit, without the cost and hassle. Whether you’re a beginner or a DIY pro, these tips will help you nail it every time. So light a candle, play your favorite tunes, and enjoy a little self-care session. Your nails (and wallet) will thank you.